A Step-by-Step DIY Guide to Installing a Butcher Block Kitchen Countertops
Step-by-Step DIY Guide
Kitchen Countertop Install
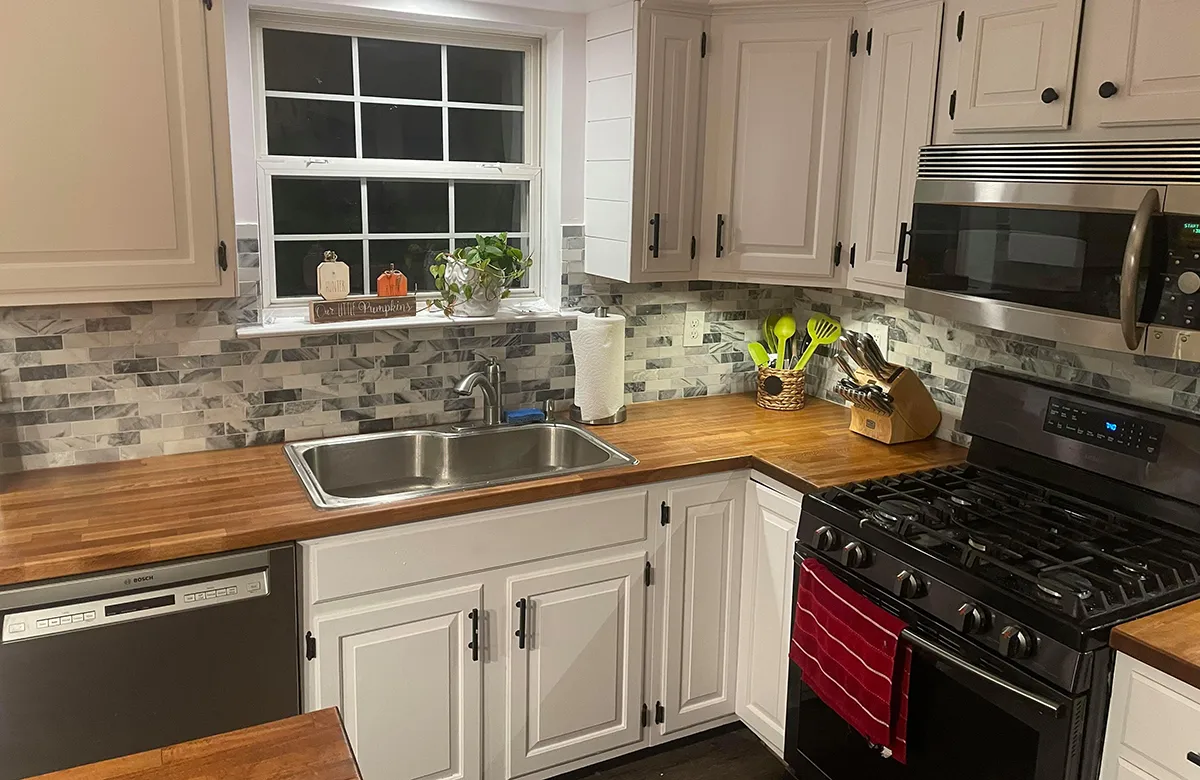
Butcher block countertops offer a cozy, natural aesthetic to kitchens, and homeowners love them for their resilience and adaptability. This DIY guide will lead you through the process of installing one yourself, complete with a sink cutout and optional beveled or rounded corners, for a project that enhances both the value and personality of your kitchen.
Materials Needed:
- Butcher block countertop
- Measuring tape
- Pencil
- Saw (circular saw or jigsaw)
- Sandpaper (various grits)
- Wood conditioner
- Stain or sealant
- Brackets or countertop support brackets
- Screws
- Drill
- Level
- Router (optional for bevel)
- Wood glue (optional)
- Clamps (optional)
Step 1: Measure and Prepare
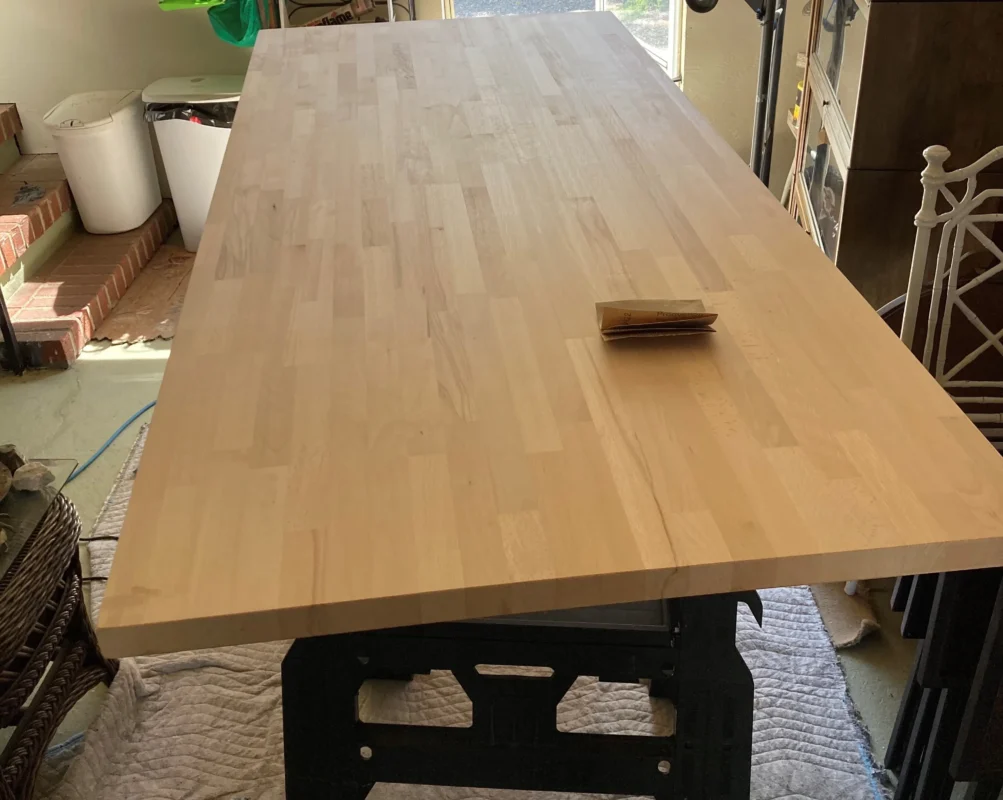
First, measure the dimensions of your kitchen cabinets where the countertop will sit. Accurately mark these dimensions on the butcher block countertop. Use a saw to cut the countertop to size, ensuring precision by measuring twice and cutting once.
Step 2: Sand the Countertop
After cutting the countertop, sand its surface thoroughly using sandpaper with increasingly fine grits until it feels smooth to the touch. Pay attention to the edges and corners, gently rounding them to prevent splinters and achieve a polished appearance.
Step 3: Apply Wood Conditioner and Stain/Sealant
Apply wood conditioner to the sanded surface to help the wood absorb stain or sealant evenly. Once the conditioner dries per the manufacturer’s instructions, apply your chosen stain or sealant across the entire surface, following the recommended application and drying times.
We recommend Rubio Monocoat Oil Plus 2C, a hardwax oil wood protector that colors and protects in only 1 single layer! Using advanced molecular bonding, it protects wood from water, heat and daily wear & tear. It is the best oil for wood furniture, hardwood flooring, tables, and just about anything made out of wood. It is food-safe with zero VOC. It comes in multiple colors, natural (which yellows the wood) and pure (which maintains the true wood appearance).
Step 4: Install Support Brackets
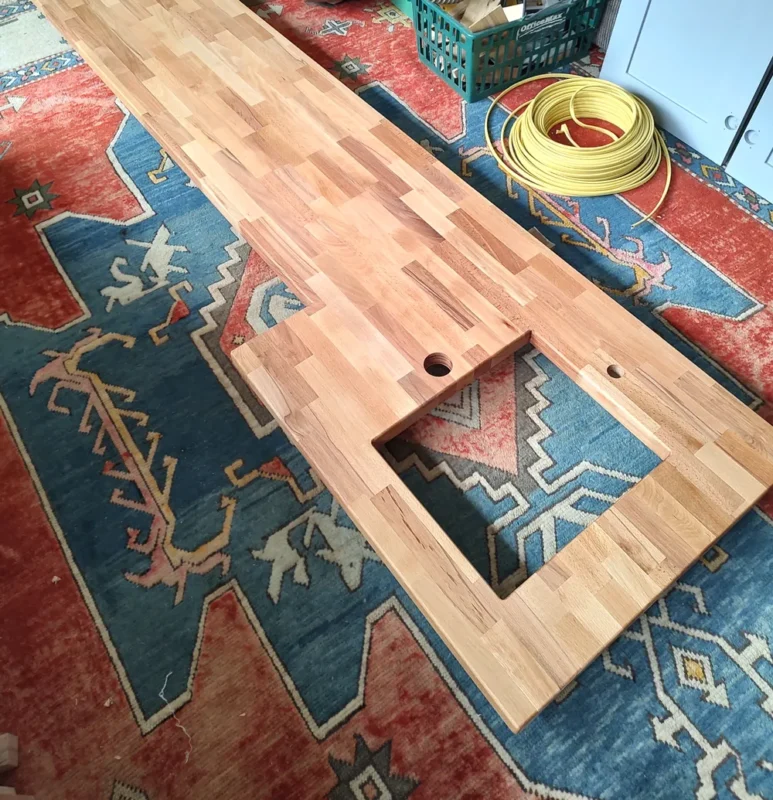
Determine the placement of support brackets underneath the countertop for added stability. If incorporating a sink cutout, mark its position on the countertop before installing brackets. Use a drill to secure the brackets evenly beneath the countertop with screws.
Step 5: Position and Install the Countertop
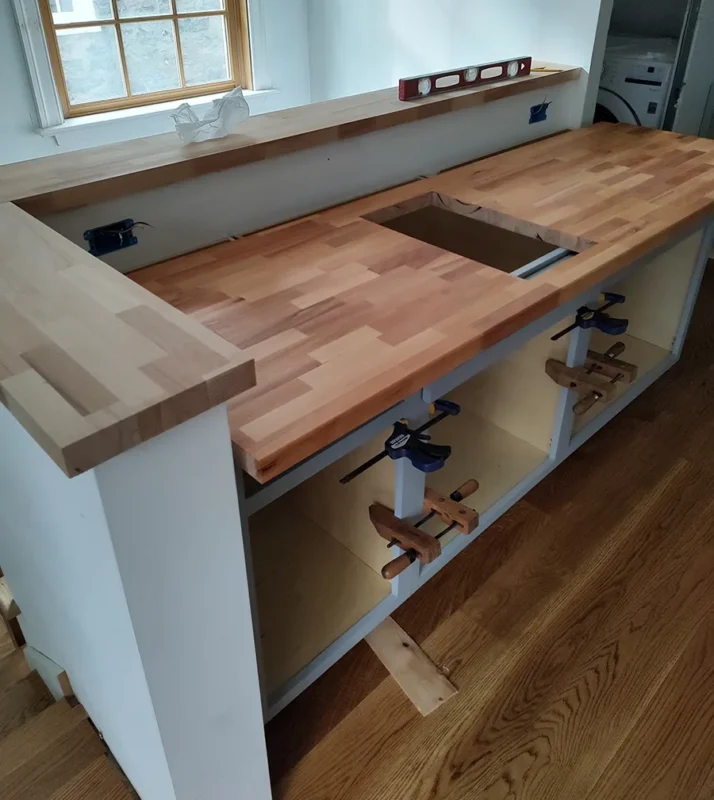
Enlist a helper to carefully lift and position the butcher block countertop onto the kitchen cabinets. Ensure it sits level by using a level and make any necessary adjustments. If opting for beveled or rounded corners, shape them to your liking with a saw before securing the countertop to the cabinets using screws through the support brackets.
Step 6: Optional Finishing Touches
For extra stability, apply wood glue along the seams where the countertop meets the cabinets and use clamps to hold it in place while the glue dries, adhering to the manufacturer’s recommended drying time.
Step 7: Enjoy Your New Butcher Block Countertop!
Once any glue has dried, your DIY installation is complete! Step back and admire your handiwork, reveling in the warmth and beauty your new countertop adds to your kitchen.
Installing a butcher block countertop is a fulfilling DIY endeavor that, with the right tools and attention to detail, can elevate both the functionality and aesthetics of your kitchen space, creating a welcoming atmosphere for cooking and entertaining alike.